Wednesday 27 January 2016

Have a very special day!

Hi crafters

A card to wish you a very special day . . . 


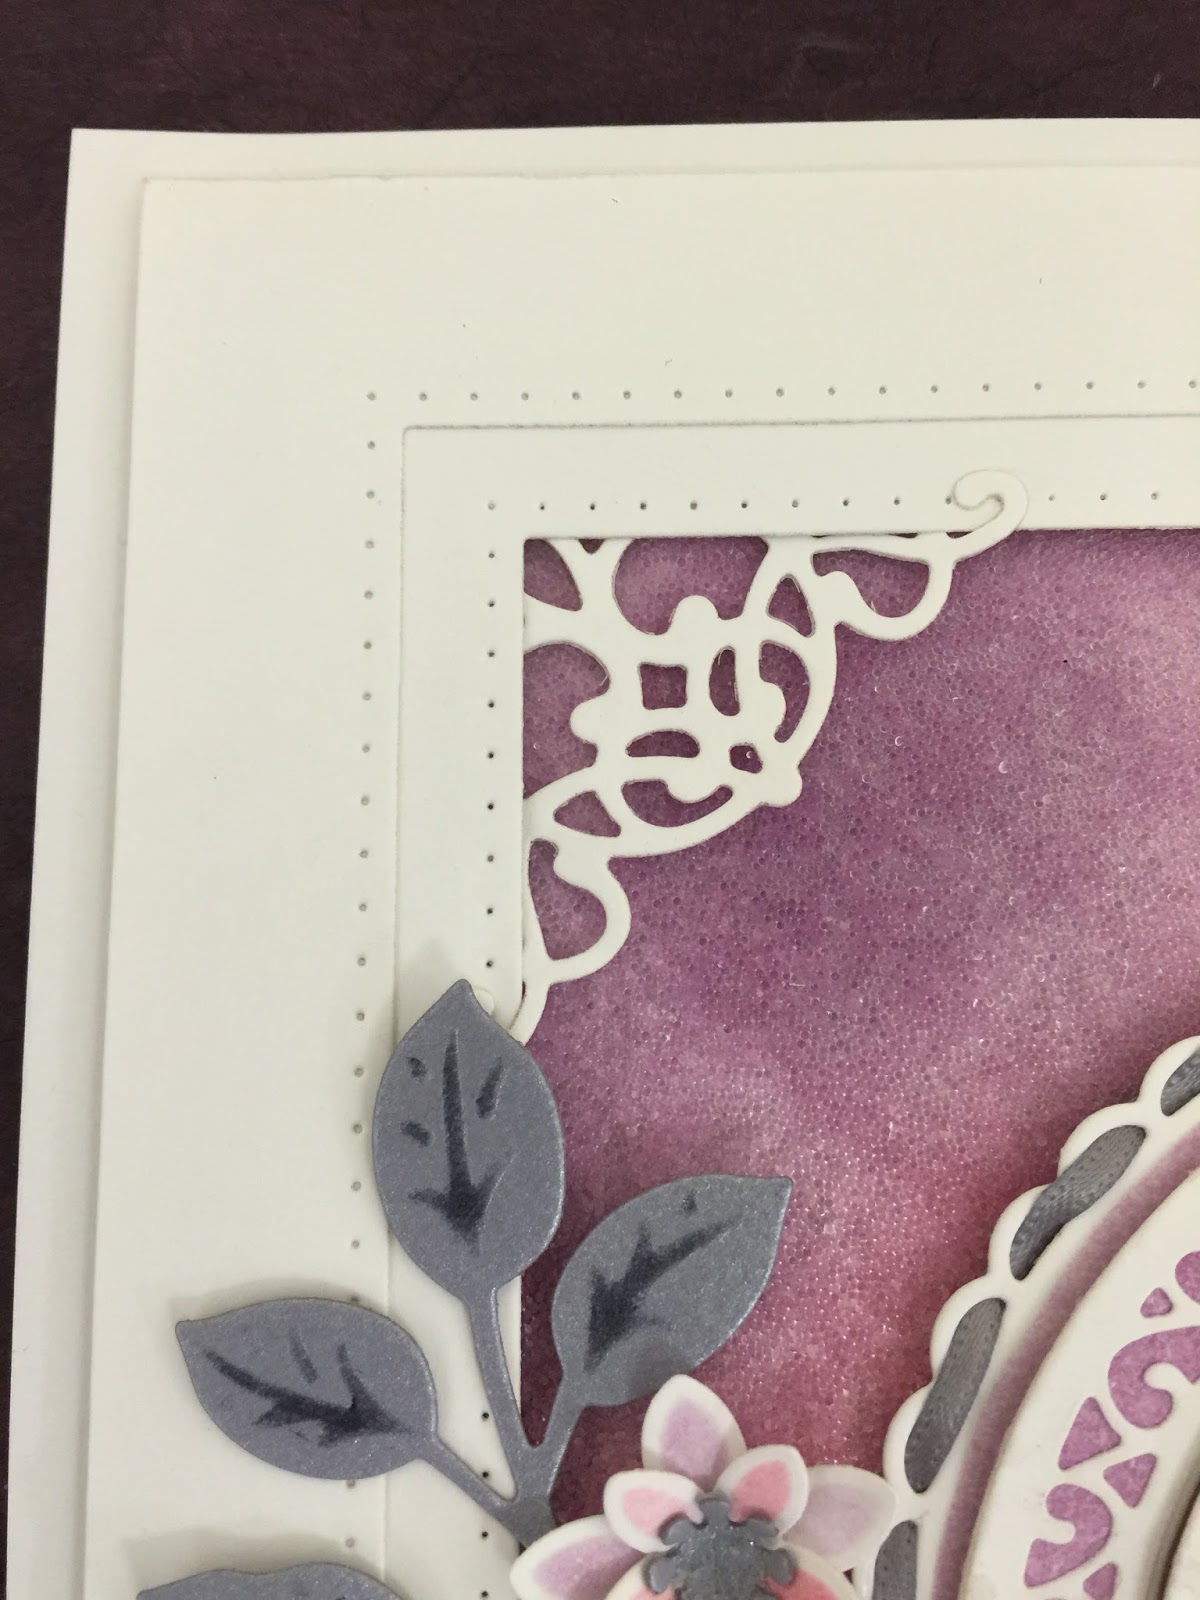
A simple design this week, using the pretty Snowdrop Elements clear stamp set, designed by John Lockwood, and the Cathedral Background die set designed by Sue Wilson.


The flower heads were stamped twice so that they could be decoupaged for dimension.


*** TOP TIP *** Archival ink is not a standard embossing ink but as long as your ink pad is not too dry and you get your embossing powder on immediately, it can be used, giving you more options.


The Shopping List is below but should you have any questions please ask. It would be lovely if you want to leave a comment. Your feedback is much appreciated.


Please click this link to see what the other members of the Creative Expressions Design Team have been creating.

Craft Consortium:
Diamante Gems
Cosmic Shimmer:
Ranger:

Wednesday 20 January 2016

"Egg" Holder

Hi crafters!

I am in the process of re-organising my Craft Room so thought that this week I would show you the stand I have decorated for when I am using my Smoothies. 


The stand comes in 3 parts and was glued together using Cosmic Shimmer Glue. The stand was then painted with Cosmic Shimmer White Gesso Primer. 


China Pink Matt Chalk Paint was added over the Gesso once dried.


To embellish the stand, pearlescent texture paste was added through a mask on some of the space on the top of the stand.
Pieces from the pack of MDF Craft Themed Shapes were decorated with different colours of Cosmic Shimmer Pearlescent PVA. Once dry, these were glued to the ends of the MDF egg rack using Cosmic Shimmer Glue.  


*** TOP TIP ***  


Some of the paint colours will cover MDF in one coat. If unsure whether an undercoat of Gesso is required, try a test area first. 


The full Shopping List is below but should you have any questions please ask. It would be lovely if you want to leave a comment. Your feedback is much appreciated.


Finally, I need to announce the winner of last week's card and gift tag giveaway. 


The lucky winner, picked at random, is: "nattyboots". Congratulations! Please email tracey@creative-expressions.uk.com with your postal address so that your prize can be sent out to you.


Please click this link to see what the other members of the Creative Expressions Design Team have been creating.

SHOPPING LIST
Creative Expressions:
MDF Egg Stand
Craft Themed MDF Shapes
Smoothies

Cosmic Shimmer:


Wednesday 13 January 2016

Butterfly Configurations and a chance to win!

Hi crafters!


This card shows how the Noble Double Pierced Rectangles were used to make a card blank. A piece of aqua cardstock was embossed using the Fine Finials Embossing Folder. This was given a frame using two more of the Double Pierced Rectangles. 


Last week I used the smaller die from the Swirly Lace Edger Configurations die set, so this time I wanted to use the larger die. Both dies in this set make me think of butterfly wings, so I cut two of the large die and glued them together at the centre. 


The body of the butterfly was made using three little resin flowers and then pieces of adhesive pearl swirls were used to make the butterfly trails. There is co-ordinating ribbon to match the resin flowers so a piece was tied around the spine of the card. 


I decided to also make a smaller butterfly using the smallest die in the Configurations set and again glued two identical pieces back to back. I used some of the off-cuts from making the card to make a small gift tag. 


*** TOP TIP *** when adding small self-adhesive gems or pearls, add a spot of Cosmic Shimmer glue to guarantee these stay in place.


The full Shopping List is below but should you have any questions please ask. It would be lovely if you want to leave a comment. Your feedback is much appreciated.


Please click this link to see what the other members of the Creative Expressions Design Team have been creating and for a chance to WIN this card and tag!

Ranger:


Wednesday 6 January 2016

My first Weekly Post on a Wednesday for Creative Expressions in 2016!

Hi crafters!


I will be posting on here every Wednesday as part of the Creative Expressions Design Team.

I hope you will find some inspiration from my projects - today I have made a Birthday card (with a female relative in mind).

The background was the starting point, blending 3 colours of Colour Cloud Blending Inks onto a piece of white card. A piece of double-sided adhesive was then attached to the front of the card and micro beads added.


The same 3 Colour Cloud Blending Inks were used to ink through the die cuts used in the centre.


The die cut flowers were also inked in the same way.


As the leaves were die cut from metallic card, a black dye ink pad was used to stencil through the die.


The finishing touches were some ribbon threaded through one of the die cuts and a couple of configurations shapes added to two corners.

*** TOP TIP *** if you find your ribbon is showing creases from being folded, run it through some hair straighteners before using.

The full Shopping List is below but should you have any questions please ask. It would be lovely if you want to leave a comment.


Please click this link to see what the other members of the Creative Expressions Design Team have been creating!

Colour Cloud Blending Inks:
Crimson Kiss, Lilac Whisper and Plum Cobbler
Ranger:

Friday 1 January 2016

Happy New Year!

Some exciting news! 

For the New Year, I will be joining the Creative Expressions Design Team and will be posting a new design every Wednesday to hopefully inspire you! 

My first post will be on Wednesday 6th January, so, whilst I give my blog a spring-clean, here is one of the Christmas decorations I made before Christmas. 


The MDF bauble shape was painted using some Silver Shimmer Paint.  

Once the paint was fully dry, the Christmas Tree design was stamped onto the centre of the mdf, using Flake & Glitter Glue, and Ice Blue Polished Silk Glitter was added.   

The stamp comes as a 2-piece set, so the second stamp was then used in a similar way to give the stars and sparkle using Lilac Polished Silk Glitter as a contrast.   

The bauble was then finished with some co-ordinating satin ribbon.

*** TOP TIP *** remember to wipe the flake and glitter glue off of your stamp as soon as you have stamped your image

The full Shopping List is below but should you have any questions please ask. It would be lovely if you want to leave a comment.


Please click this link to see what the other members of the Creative Expressions Design Team have been creating!

Cosmic Shimmer:
Ranger: